← Choose another knot

Knot 06 · Essential

How to Tie a Pratt / Shelby Knot

A clean, symmetrical profile that looks polished without becoming oversized.

CharacterNeat & efficient
Best forProfessional wear
GuideVideo + 7 photo steps
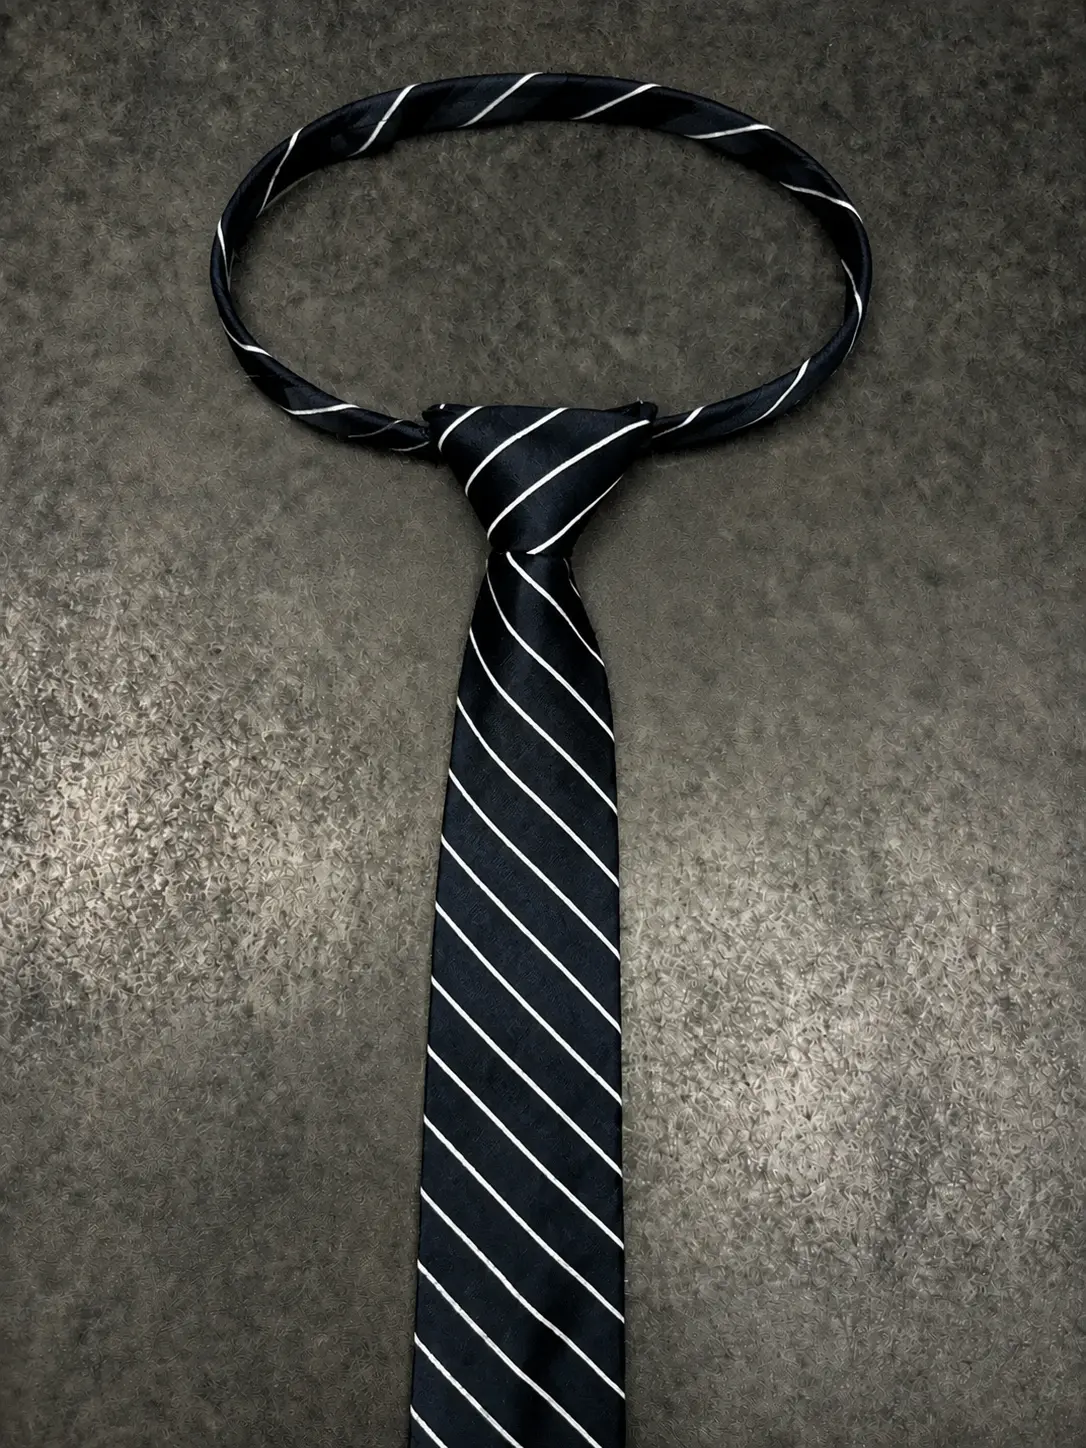
Finished navy striped Pratt knot with a natural neck loop
Finished knot previewPratt / Shelby

Watch once. Then tie.

Fast to follow.
Hard to lose.

Only move the wide end unless a step says otherwise. Read the bold MOVE line, then stop when your tie matches the photo. Use the labeled template below whenever a step names a loop or fork. See how the Tie Template method works.

00:55 · Full procedure

See the move. Then make it.

Watch once. Replay as needed. Match the photos below.

Wide end — the end you moveNarrow end — hold it still
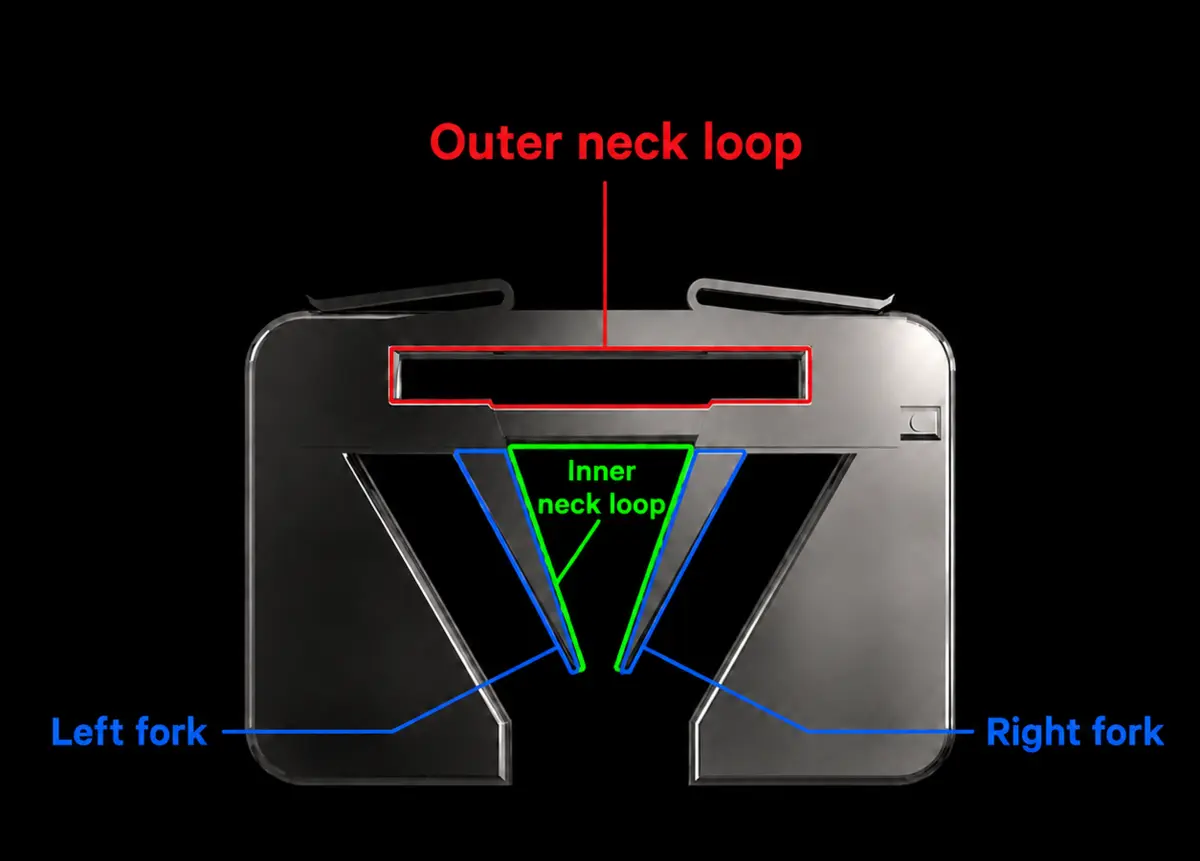
Front view of the Tie Template labeling the red outer neck loop opening, green inner neck loop opening, and blue left and right forksTop clipsSliding release barOpen large diagram ↗

Before you tie

Know the Tie Template.

Face it exactly as pictured. The top clips point up, and left and right match what you see—not the person across from you.

Outer neck loop opening
The long red opening across the top. This is part of the tool—not the loop that goes around your neck.
Inner neck loop opening
The V-shaped opening between the forks. Keep the crossing and knot body centered over it.
Left and right forks
The two center arms. If a step names a fork, move the tie over or under that exact arm.
Top clips
Slide the tie under these first. They keep both ends from moving while you work.
Sliding release bar
Open this only after the final step so the finished knot can lift out cleanly.
Your turn

One step at a time.

Make the MOVE. Compare your tie with the photo. Continue only when the CHECK line is true.

View template parts ↑
Step 1 of 7
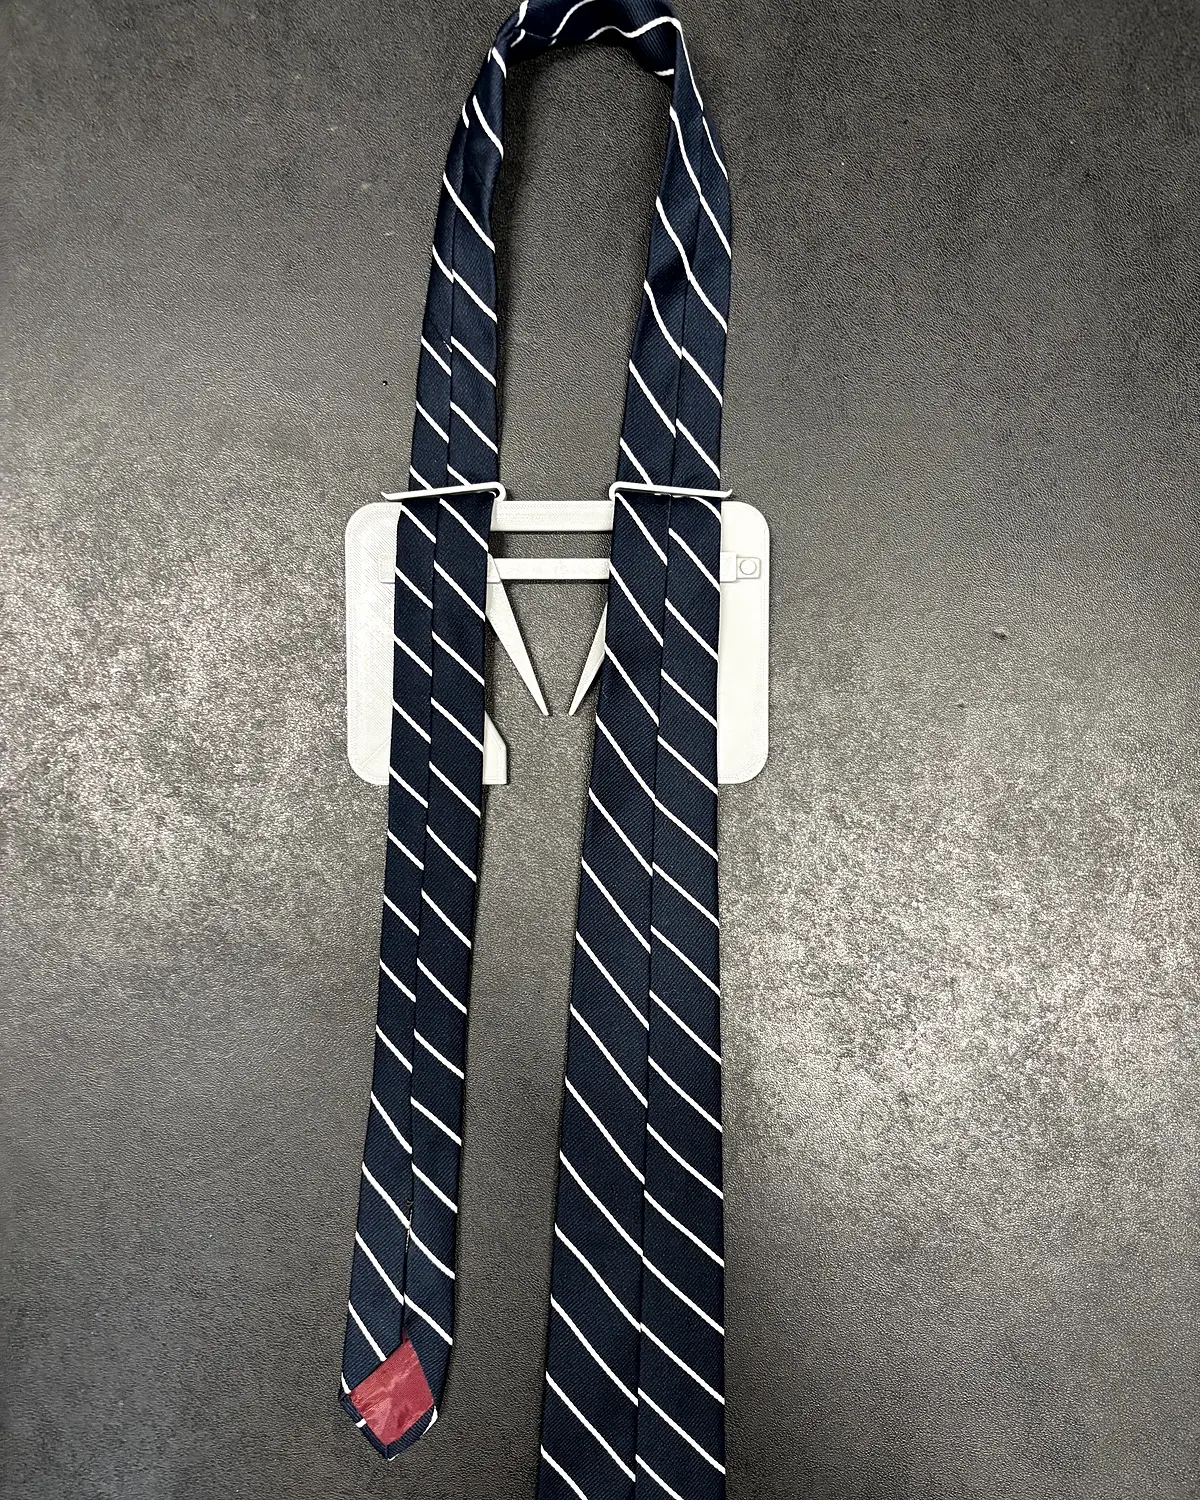
STEP 01Pratt step 1 with the tie loaded back side up and the wide end on the right
Pratt / Shelby · Step 1

Set the tie in the guide

MOVEFace the template as pictured. Turn the tie so its back side faces up, with the wide end on your right and the narrow end on your left.

Slide both ends under the top clips and let them hang straight.

CHECKThe wide end hangs lower on the right.
First-time tie tip

Keep the narrow end still unless a step tells you otherwise. Keep the tie flat and keep a light pull on it so each wrap stays in place.

After the last step

Finish the tie.

Take your time here. Small pulls work better than hard ones.

  1. Slide it off

    Release the Tie Template and slide the finished knot off while keeping the knot together.

  2. Set the knot

    Hold the neck loop in one hand and the wide end in the other. Gently pull them apart until the knot is the size you want.

  3. Put it on

    Place the loop around your neck. Hold the knot and gently pull the narrow end down until the collar feels snug—not tight.

  4. Check the length

    The wide tip should land near the middle of your belt buckle. Too short? Retie with more wide end hanging down at the start. Too long? Start with less.

To take the tie off:Hold the knot and pull the narrow end up at your neck to loosen the loop. Do not pull it down tighter.

Next in the collection · 09

Prince Albert

Textured & slim

→